

Back Office Branding: setup and help
Quick start
- Install the module ZIP through the module manager and open its configuration action.
- Open “Advanced Parameters > Back Office Branding”, then “Configuration”. If the menu entry is under the fallback group, use “mypresta.rocks > Back Office Branding”.
- Configure your shop logo in PrestaShop. In multistore, prepare each shop’s images and choose the default shop for shared views.
- Keep “Enable back-office branding” on, click “Save” after a change and reload.
- Check the header and open the administration login page in a separate browser window.
Setup manual
Give your team a PrestaShop workspace with your shop’s own identity. Back Office Branding uses your existing shop images in the header and login page, and clears platform help, promotional and update elements from the staff interface.
Features
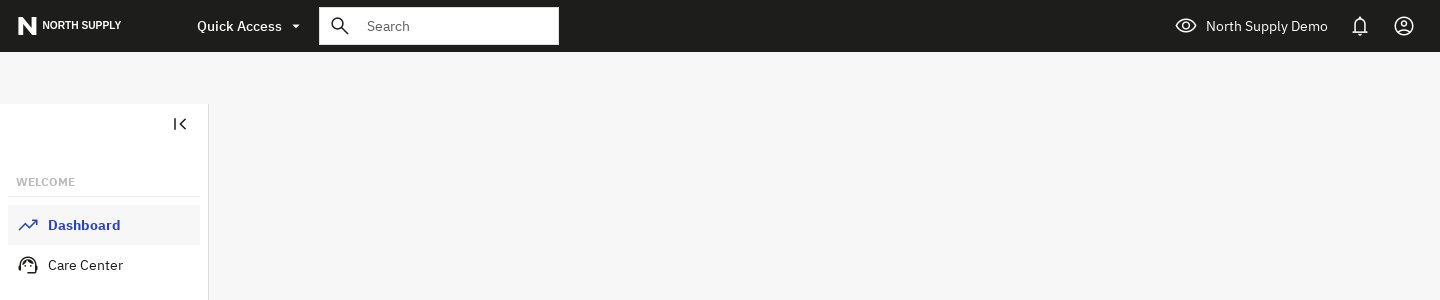
- Your logo in the header. Use the shop logo already configured in PrestaShop.
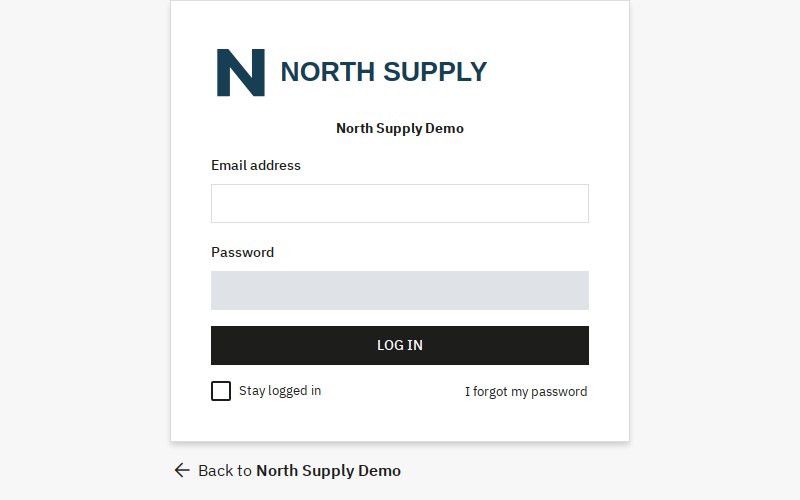
- A branded login page. The administration login uses the default shop’s logo.
- A familiar browser icon. Use the configured shop favicon, with the logo as fallback.
- A focused staff interface. Hide recognized platform help, version, promotional and update elements.
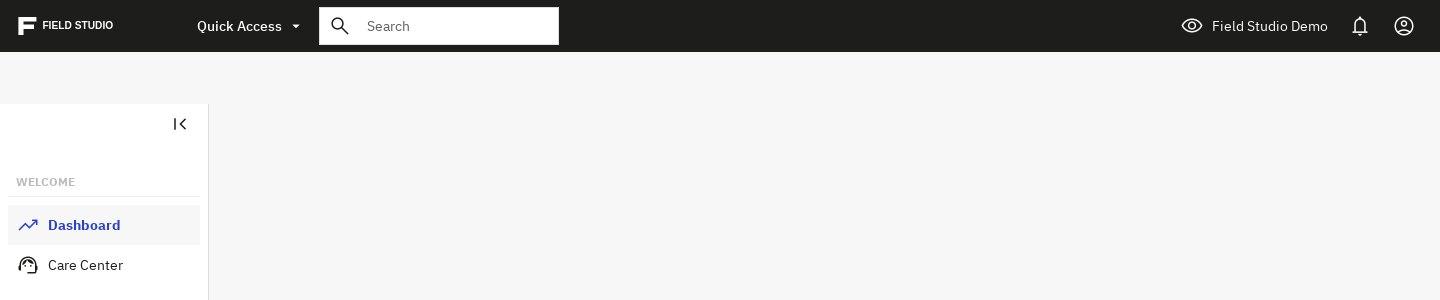
- Shop identities in multistore. Individual shop contexts use their own logo; shared views use the default shop.
- One switch. Enable or disable branding for all shops, with branding on by default.
- Settings export and import. Review and transfer the branding switch between installations.
- Branding checks. Check settings, logo availability, assets and required hooks from the Settings page.
Configuration options
| Setting | Default | Effect |
|---|---|---|
| “Enable back-office branding” | On | Shows your shop identity and hides recognized platform elements for all shops. Switch it off to restore the usual interface after reloading. |
Click “Save” after a change. The module reads PS_LOGO, PS_FAVICON and PS_SHOP_NAME from your PrestaShop configuration. A selected shop uses its own identity; login and all-shops views use the default shop. If the favicon is missing or is the stock icon, the module uses the shop logo.
The Settings page brings together “Configuration”, “Integrity”, “License”, “Update”, “Support” and “Export / import”. Search for “Enable back-office branding” to find the switch.

Customization examples
Give two shops their own identity. Configure each shop’s logo in PrestaShop’s theme image settings. Select each shop and reload the administration page. Open the login page in a separate browser window to see the default shop’s identity.
Reuse your setting in another installation. In “Export / import”, choose “Review and export”, then “Download file (%d rows)”. In the destination installation, choose the file in “File” under “Import a file”, use “Preview”, then “Apply %d changes” to apply the reviewed value. The displayed counts replace %d. Prepare that shop’s logo in PrestaShop.
Installation
PrestaShop compatibility: PS 1.6 – 9.x. Certified for PrestaShop 1.6.1 to 9.2 and PHP 7.1 to 8.4; PHP 7.1 minimum. Use readable local shop images, JSON/hash support and browser JavaScript/CSS. Branding runs from page hooks, with no cron, CLI worker, Node or external branding account to set up.
Connected licensing and updates use outbound HTTPS, cURL and OpenSSL. ZIP updates also require PHP zip and writable module files. Open “License” for your mypresta.rocks activation; use “Activate key” when entering a key manually.
How it works
The module reads the current shop’s identity when an administration page loads. Its CSS and JavaScript place the logo and browser icon and hide matching platform elements, including those inserted after loading. Selecting another shop changes the identity used on the next page.
Honest limits
- Branding covers the administration and login page. Custom admin templates and extensions can use different elements, so check your layout.
- Shop images must be readable local files. On dark headers, the logo appears white.
- The switch applies to all shops. Export and import transfer its value; shop images are managed in PrestaShop.
- Hidden update links are presentation changes. They do not block network requests or add login security. Keep maintaining PrestaShop and your modules.
Troubleshooting
- Logo: check the selected shop’s image file and read permissions. For login and all-shops views, check the default shop.
- Branding: confirm that the module and its switch are enabled, reload, and check that the module’s CSS and JavaScript load.
- Saving: use an employee account with edit rights and reopen the configuration page to refresh its security token.
- Diagnostics: open “Integrity” and use “Perform Integrity Check” to check settings, the logo, assets and hooks. Use the named result to find the item to check.
- Activation and updates: check outbound HTTPS, cURL/OpenSSL and your account’s activation. For ZIP updates, also check PHP zip and file write permissions.
Questions
7
Where does my logo appear?
Your shop logo appears in the administration header and on the login page. The module also uses your shop icon in the administration browser tab.
Which logo does the module use?
It uses the shop logo already configured in PrestaShop. Manage your shop images there and the module uses them in the staff interface.
How does multistore work?
Each selected shop uses its own logo. Login and all-shops views use the default shop. One branding switch controls all shops together.
Can I transfer the branding setting?
Yes. Use “Export / import” to export the switch value and import it into another installation of the module. Set up the destination shop’s images in PrestaShop.
Does hiding update links stop update checks?
No. Branding hides recognized interface elements; it does not block network requests or add login protection. Keep PrestaShop and your modules updated, and test custom admin layouts.
Can I turn branding off?
Yes. Turn off “Enable back-office branding”, click “Save” and reload. The setting applies to all shops.
Are the module’s labels translated?
Branding-specific labels are in English; some shared settings controls have translations.
Known Issues
No known issues
There are currently no open or resolved issues registered for this module.
Feature Requests
No feature requests for this module yet
Missing something? Suggest it, and follow its progress here.
Changelog
v1.1.02026-11-18
- Show your shop logo in the back-office header and on the administration login page.
- Use your shop icon in the administration browser tab, with the logo as a fallback.
- Hide recognized platform help, version, promotional and update elements from the staff interface.
- Use each selected shop's identity in multistore, with the default shop's identity on login and shared views.
- Enable or disable branding for all shops with one switch, and transfer that setting through export and import.
- Check branding settings, shop logo availability, public assets and required hooks from the Settings page.